Put a Lid on It
- Abigail Weeks
- Jun 22, 2018
- 1 min read

After spending $46.00 on a conference call to the U.S. (it’s ok you guys are worth it) we got to work at the tap stand cutting a space for the pipe in the drainage formwork and making other last minute modifications.

After spending far too long second guessing our initial calculations and measurements, we realized nothing was actually amiss and set to work.


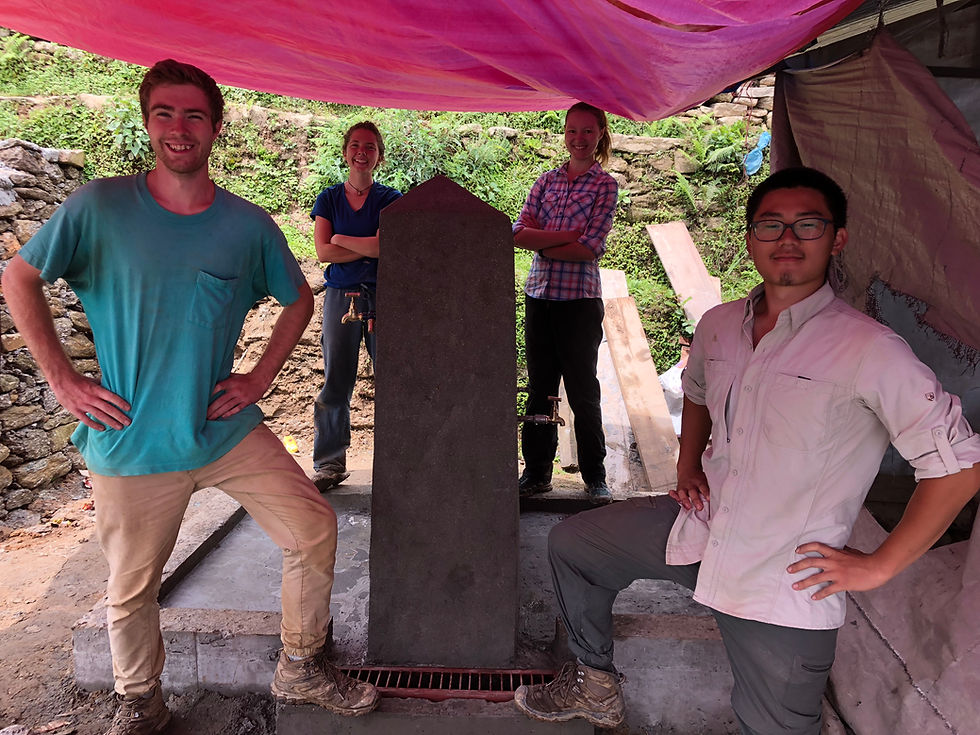
Pahal, Laladhoj, and Ganjaman joined us today. After pouring the slab for the drainage basin, we set the interior frame and poured the wall section.
During pouring, we proceeded to work with Pahal, Laladhoj, and Gamjaman to measure and cut wood to form the lids to the junction boxes we previously installed. It involved a lot of measuring and drawing on wood, and way more sawing than anyone deserves.
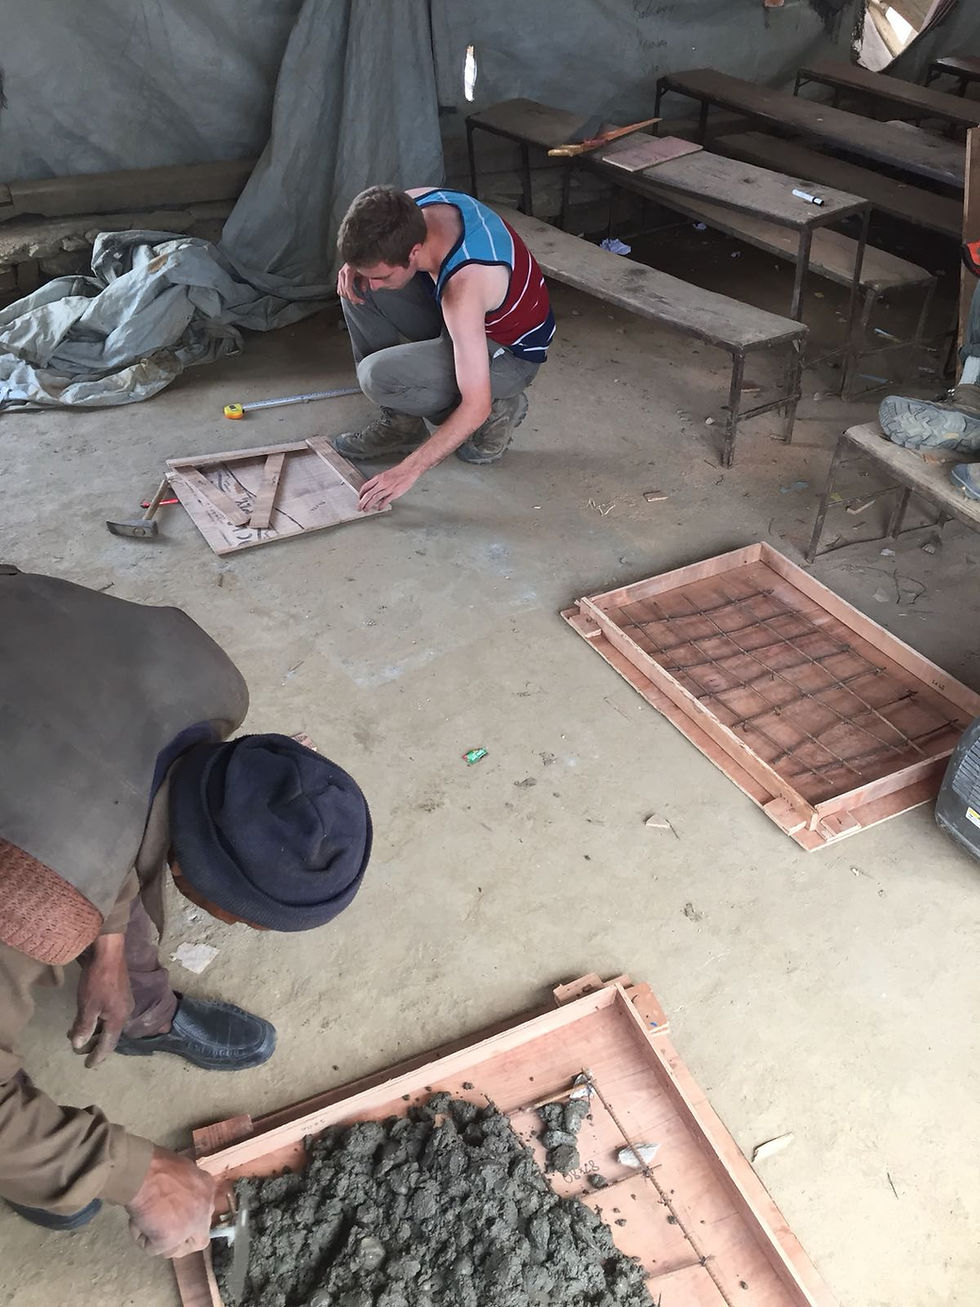

Halfway through the lid endeavor, we realized the drainage formwork had been installed incorrectly, and did not account for the drainage grate. This ended up being a resolvable issue, and we’ve decided to just chisel into the outer wall to form a lip on which to rest the grate once the concrete has set.
We finished nailing the lid formwork together and used the last of the concrete mix for the day to fill the forms.

Once the remaining concrete cures, all that’s left is plastering and priming the tap stand!
Our next blog post will give an overview of the whole water system we built.
-Amita ra Janak
(Abbie and James)

Comments